
Where I Stood With Blender When This All Started
I had heard of Blender long before I ever used it.
I knew it was free. I knew it was used for animation and 3D sculpting. I also knew that models created in Blender could be imported into engines like Unreal for game development—and that was where my curiosity first took root. I had always been interested in the idea of working in game design professionally, even if I never quite took the first step.
More recently, though, I found myself getting into 3D printing. As a hobby, I began downloading STL files and sending them to my local library for printing. While doing some light research, I learned that Blender could also be used to edit and prepare files for 3D printing. That was the moment my interest shifted into something more concrete. Blender no longer felt like just an animation tool—it started to look like a single piece of software that could bridge multiple creative disciplines.
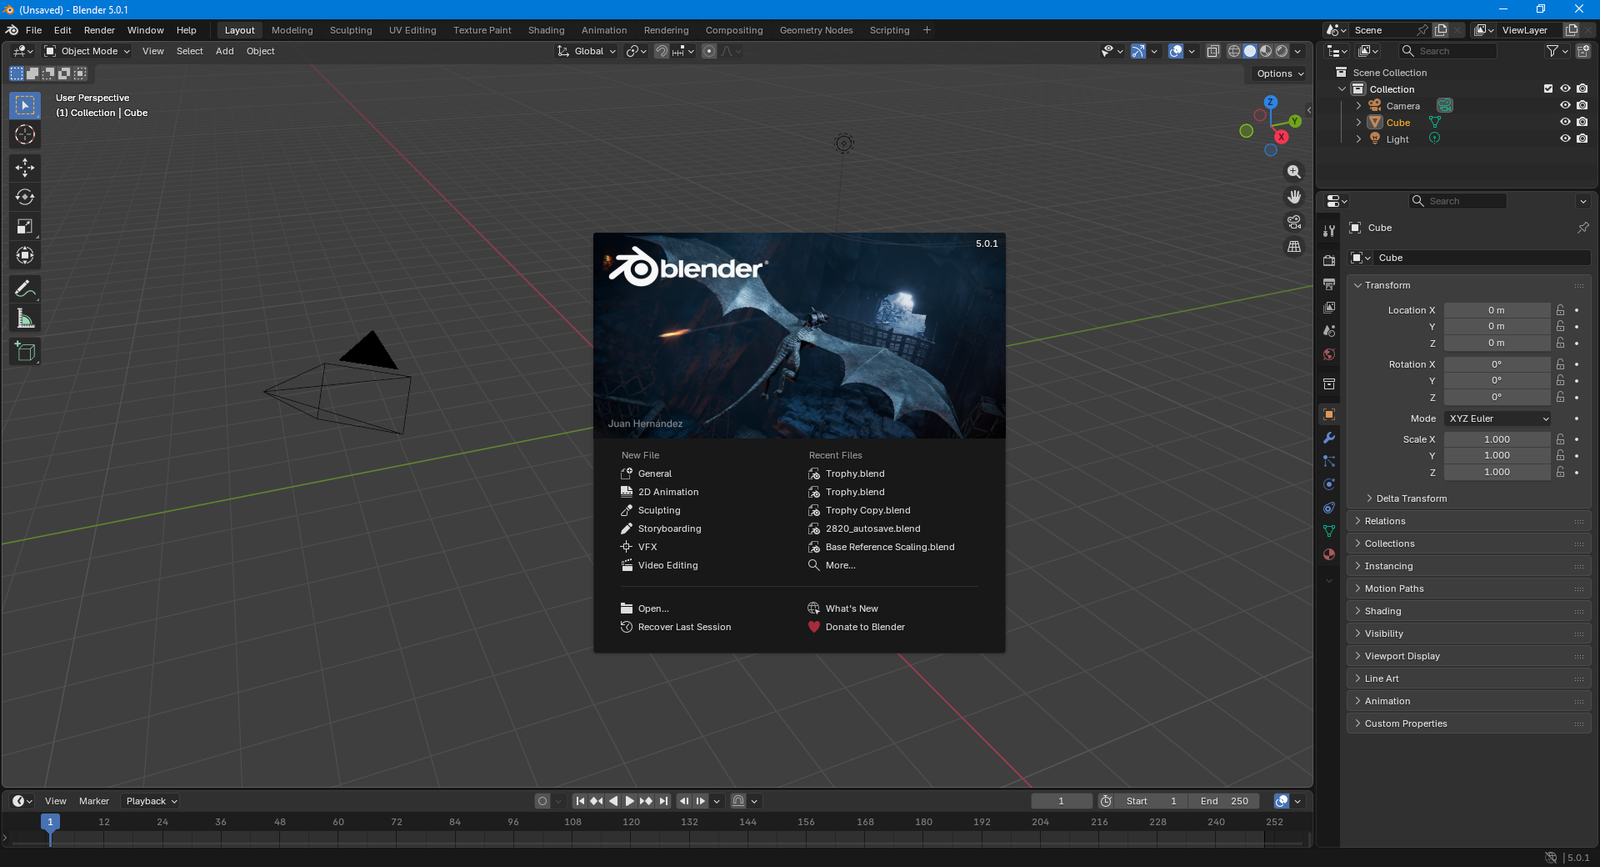
I had seen Blender listed on Steam. I had visited the website more than once. Yet despite all of that exposure, I had never actually downloaded it. When I finally did, I realized how unprepared I was. I struggled with basic camera movement. I didn’t really understand what “inserting a mesh” meant beyond selecting a menu option and watching shapes appear. The viewport felt like a cockpit—dense, technical, and intimidating. Every button seemed important, and I had no idea which ones were safe to touch and which ones might derail everything.
Blender Guru's Donut Tutorial

Somehow, Blender Guru’s Donut Tutorial found its way into my algorithm. I clicked out of curiosity more than anything—the donuts looked remarkably realistic and vibrant. What immediately stood out, though, was how approachable he made everything seem. From a quick skim, the process looked structured, calm, and achievable, which was both surprising and motivating.
Even when I realized the tutorial was over four and a half hours long, it didn’t deter me. If I’m serious about doing this properly—and potentially pursuing it full-time someday—then putting in the hours is simply part of the deal.
What became clear very quickly is that this tutorial is not just popular by accident. It contains everything a true beginner needs. The material is carefully structured, highly practical, and presented by someone who clearly understands Blender at a professional level, not just how to use it, but how people learn it.
This also isn’t a simple “click what I click” walkthrough. He consistently explains why things work the way they do, points out where beginners commonly get stuck, and proactively addresses those pain points before they become frustrating roadblocks. Even the video description includes a comprehensive Blender shortcut cheat sheet, which immediately signals how thoughtfully the tutorial is put together.
Beyond the video itself, there’s an entire ecosystem supporting it. There’s an active Discord community where people can share screenshots, ask questions, and troubleshoot alongside others at the same stage—or with far more experience. He also runs a website with his team that offers both free and paid, professionally 3D-scanned meshes sourced from real-world objects, allowing users to bring high-quality assets directly into their scenes if they choose.
They even provide a dedicated Blender add-on, which integrates those assets directly into the software so you never have to leave your workflow.
Taken as a whole, it’s far more than a single tutorial—it’s a complete on-ramp into 3D creation. I genuinely recommend it to anyone interested in 3D design, animation, custom 3D-print modeling, or any adjacent creative field that Blender touches—which, as I quickly learned, is a lot more than I initially expected.
But Here's The Thing
The first time I watched the tutorial, I was pausing and rewinding constantly. I kept getting lost—not because anything was poorly explained, but because there was simply so much happening at once.
At one point, I had to drop the playback speed to 0.75× just to keep up. Between the tool changes, hotkeys, and subtle viewport interactions, my brain needed more time to process what was actually happening on screen.
That’s not a knock against the tutorial at all—it’s just the reality of coming in as a complete beginner.
The pacing of the video is smooth, but Blender itself is dense. There are countless small, almost invisible actions that only register if you already know to look for them. Miss one of those steps, and suddenly your result looks completely wrong with no obvious explanation as to why.
My second playthrough was full of “ohhh, that’s what he did” moments.
Things that felt like random magic the first time started to reveal themselves as deliberate, logical choices. I began noticing details like:
where he clicked—not just what he clicked
why he chose a modifier instead of manually modeling something
the subtle “don’t do this” warnings that only make sense later
By the third watch, it wasn’t about copying steps anymore—it was reinforcement. Actions that were invisible on the first pass suddenly felt obvious. Concepts started connecting. Muscle memory began to form. That’s when the learning really started to stick.
So yes—I watched the tutorial three times.
And I rewatched specific sections even more than that.
And I still got stuck. Constantly.
That, as I quickly learned, is just part of the process.
ChatGPT and Gemini As Safety Nets
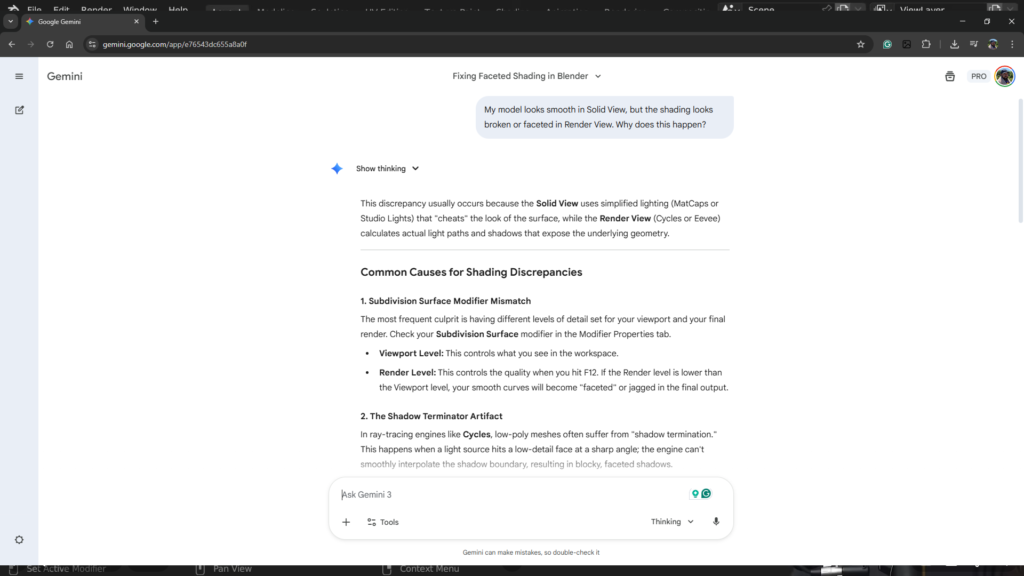
I won’t pretend otherwise—I leaned heavily on OpenAI’s ChatGPT and Google’s Gemini throughout this process.
Not because the tutorial was lacking—but because I was deliberately using every resource available to me.
Every few minutes, I would hit a moment like:
Why did his shading smooth out, but mine didn’t?
Why is this modifier doing absolutely nothing?
Why does this node setup look different on my screen?
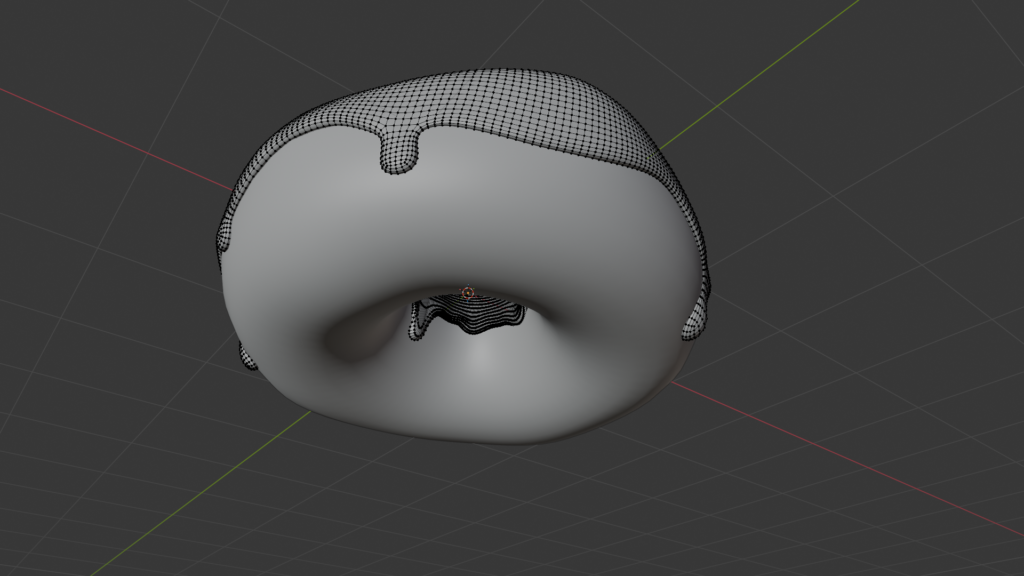
And occasionally: why did my object just turn into a melted nightmare?
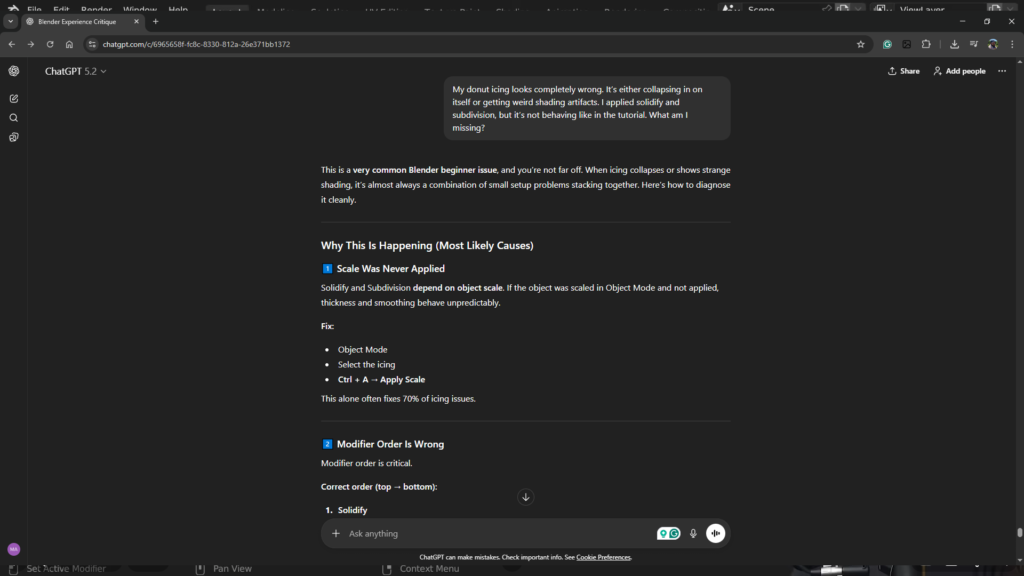
Each time, the process was the same. I’d pause the project, ask a focused question, apply a fix, return to the tutorial—only to hit the next snag shortly after. Wash, rinse, repeat.
What made the difference is that these tools allowed me to resolve specific points of confusion immediately, instead of letting small problems compound into frustration. They didn’t replace the tutorial—they complemented it. They helped explain why something wasn’t working when my result diverged from the expected outcome.
In practice, it felt like having a one-on-one tutor on standby at all times—ready to clarify terminology, explain unexpected behavior, or confirm whether I had simply missed a small but critical step.
For a beginner navigating a dense piece of software like Blender, that kind of support is invaluable.
Light at The End of The Tunnel
Once I had absorbed a handful of core concepts—viewport navigation, knowing when to switch between Object, Edit, and Sculpt modes, basic vertex organization, modifiers, and simple material layering—the pace changed completely.
I went from feeling like I was strapped into a relentless learning rollercoaster to thinking, okay—now this is starting to make sense.
The learning curve is honestly messy and slow at first. There’s no way around that. But if you stick with it long enough, something shifts. The confusion starts giving way to confidence, and before you realize it, you’re not just following instructions anymore—you’re making decisions. That’s the point where it becomes genuinely enjoyable.
It also became clear to me that this is a skill with real range. It can live comfortably as a creative hobby, but it also has the depth and practicality to support a serious professional path.
What surprised me most is how much it scratches the same itch as building something physical. You shape forms, refine details, troubleshoot problems, and iterate toward a better result. It’s creative, but it’s also mechanical. Abstract ideas turn into tangible outcomes through process and precision.
There’s a strong sense of digital fabrication to it—like working with virtual materials using real-world logic. And once that clicks, it’s hard not to get hooked.
From Torus to Donut (Two Weeks)
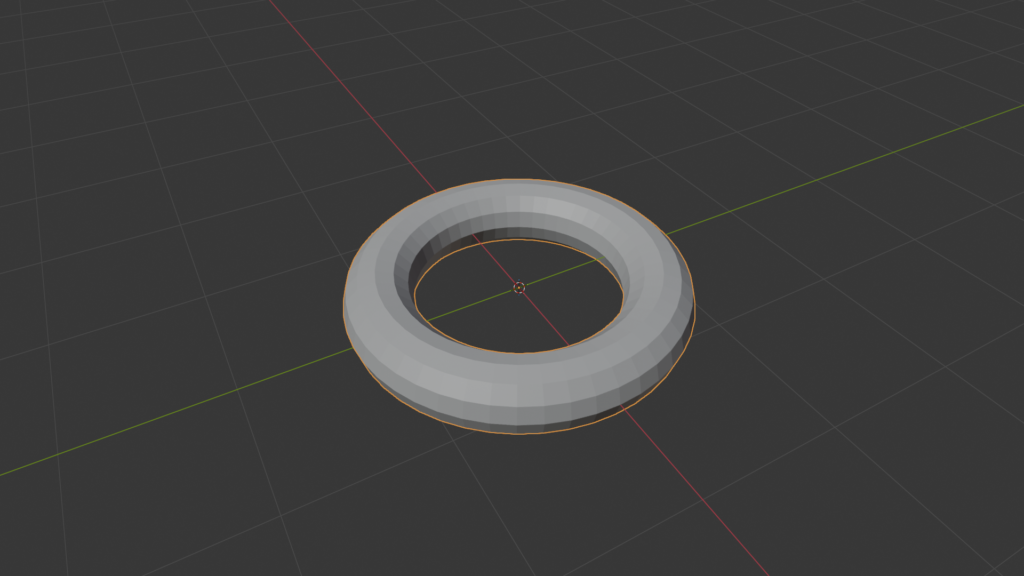
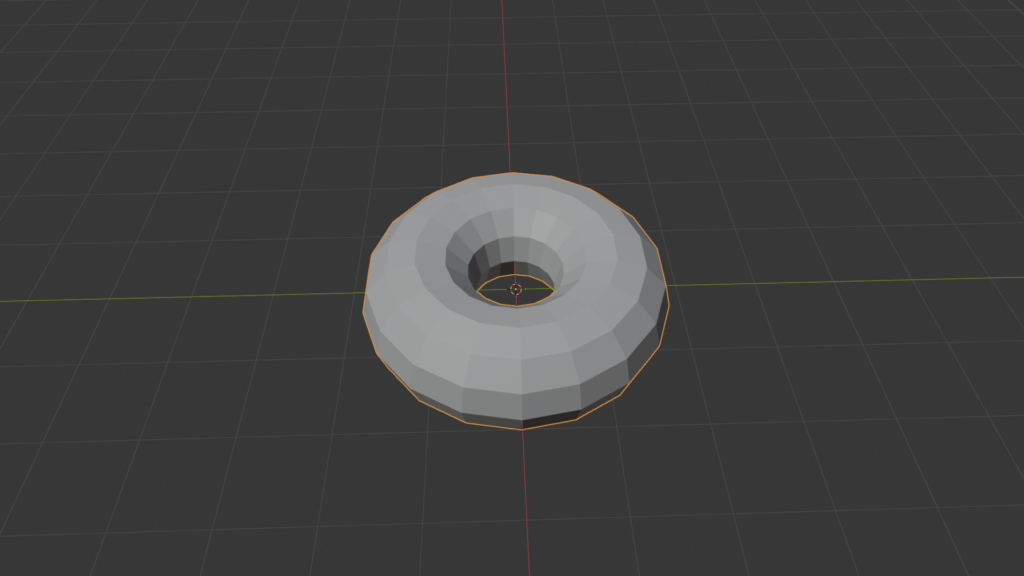
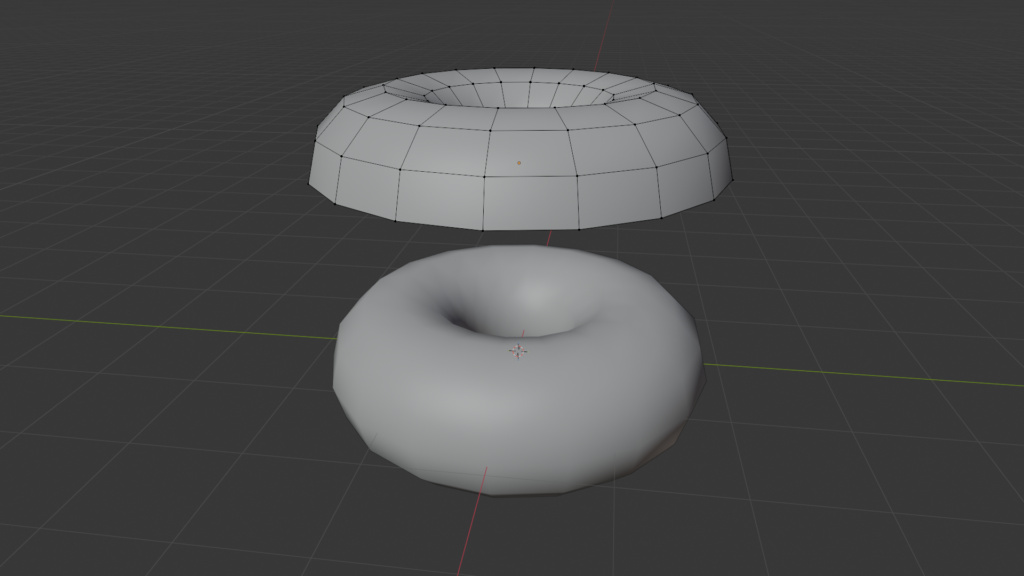
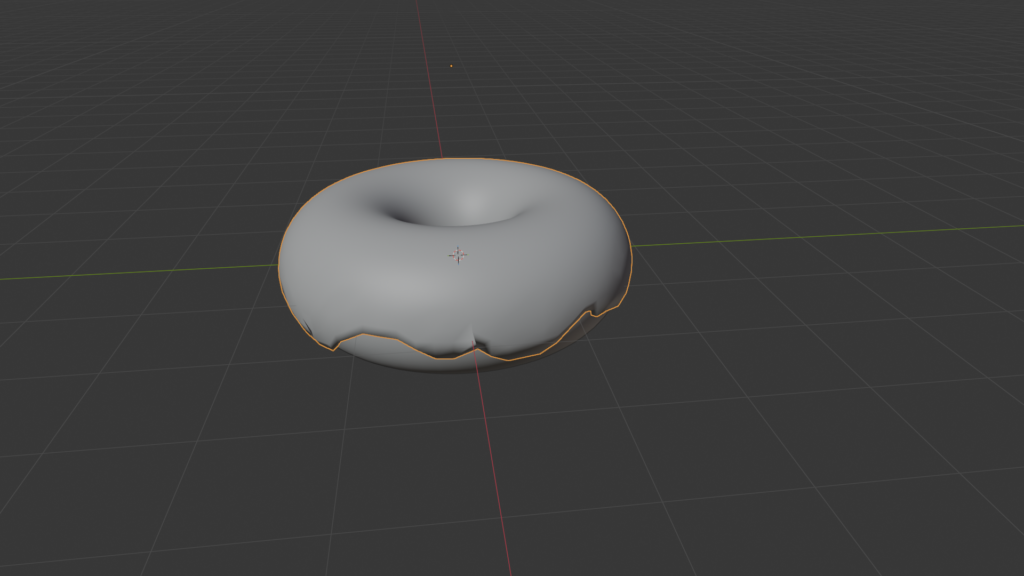
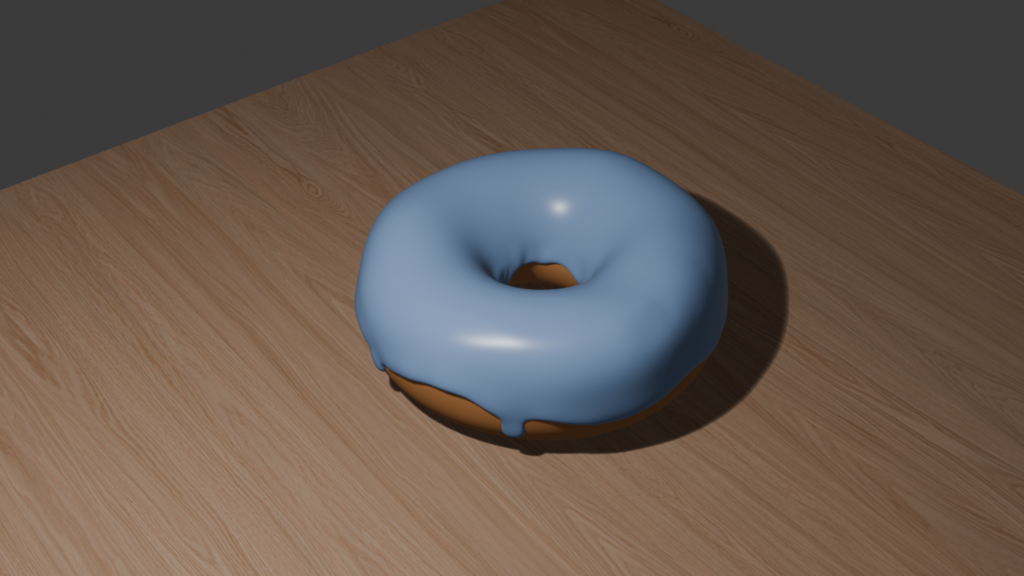
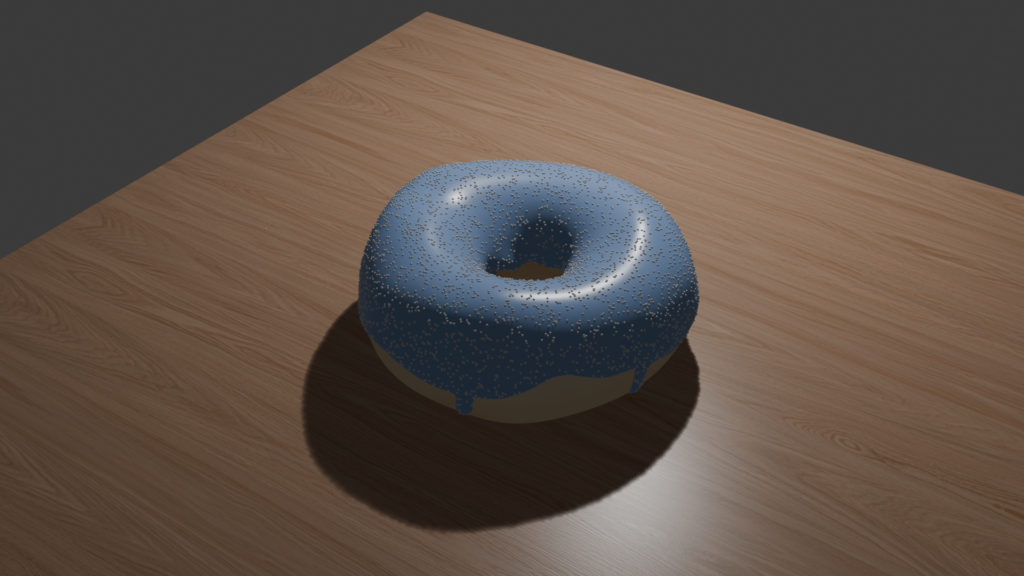
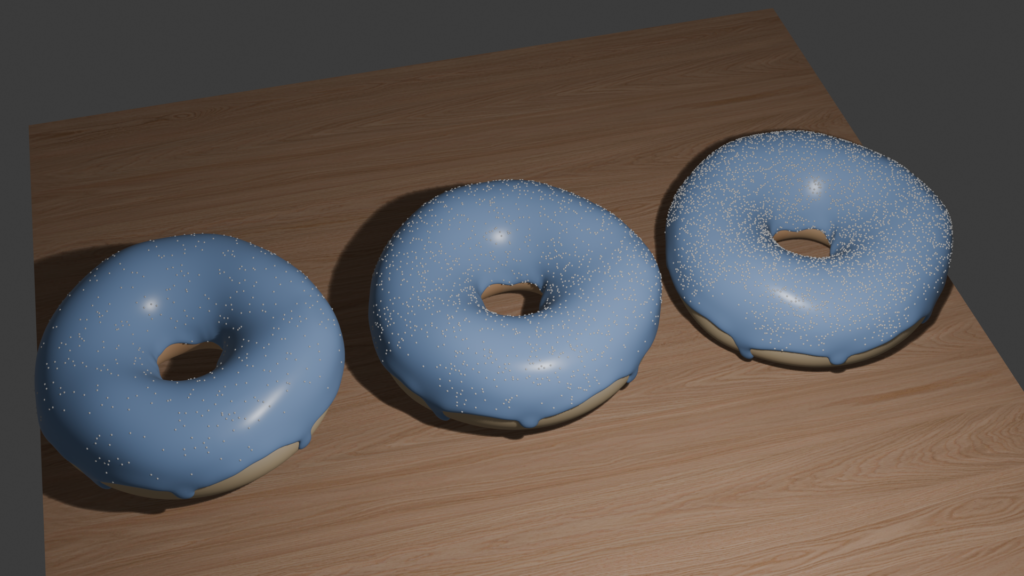
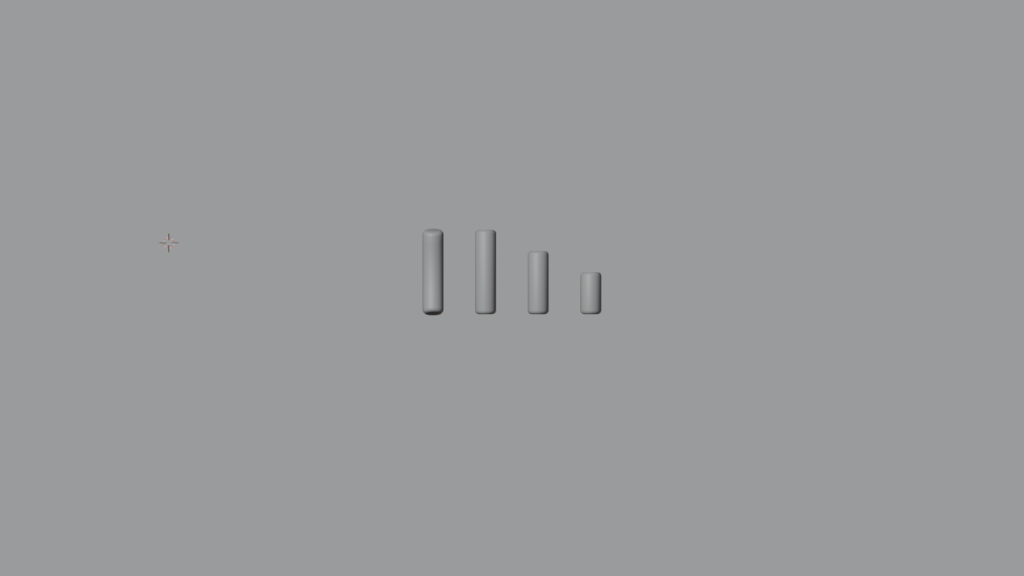
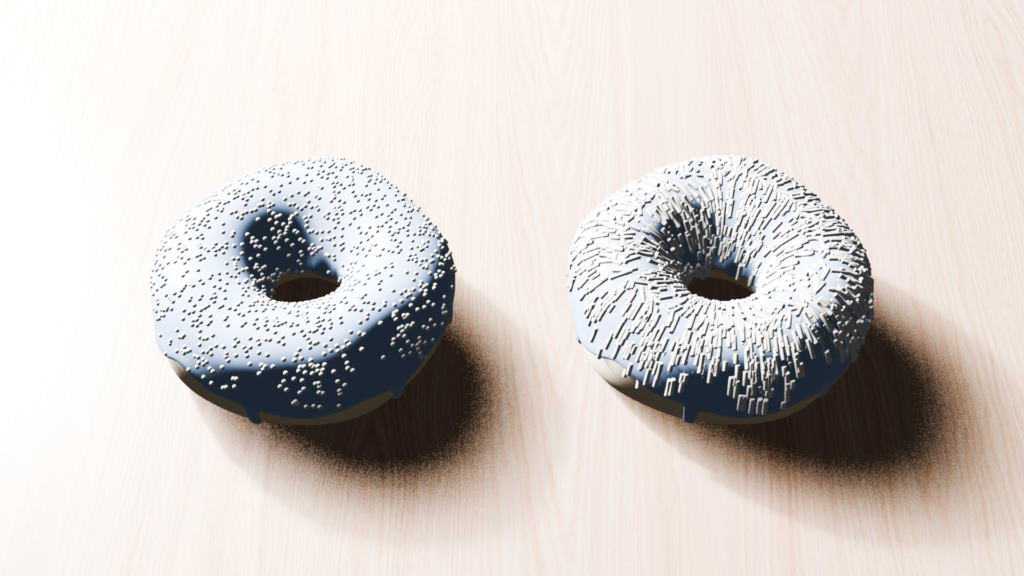
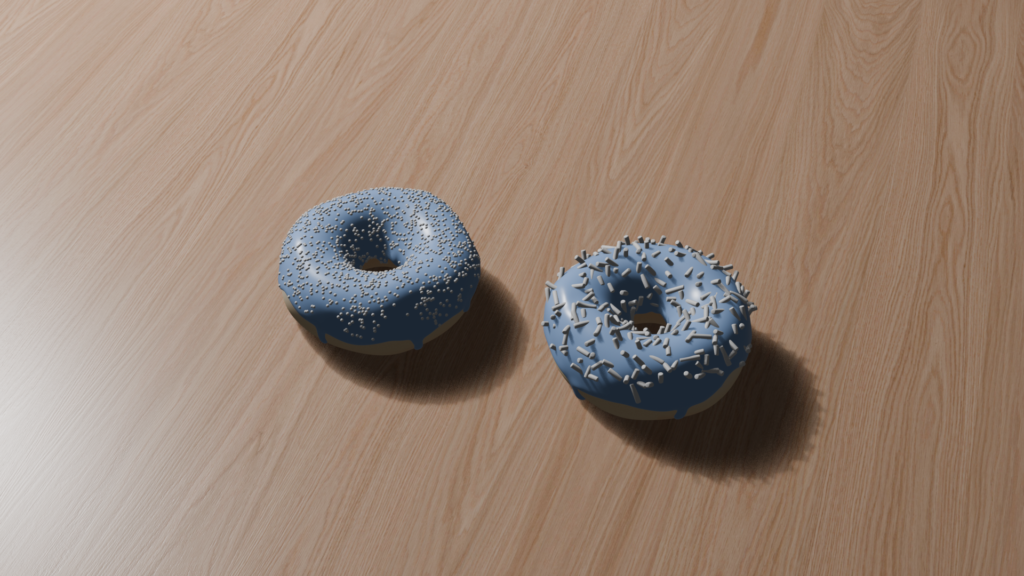
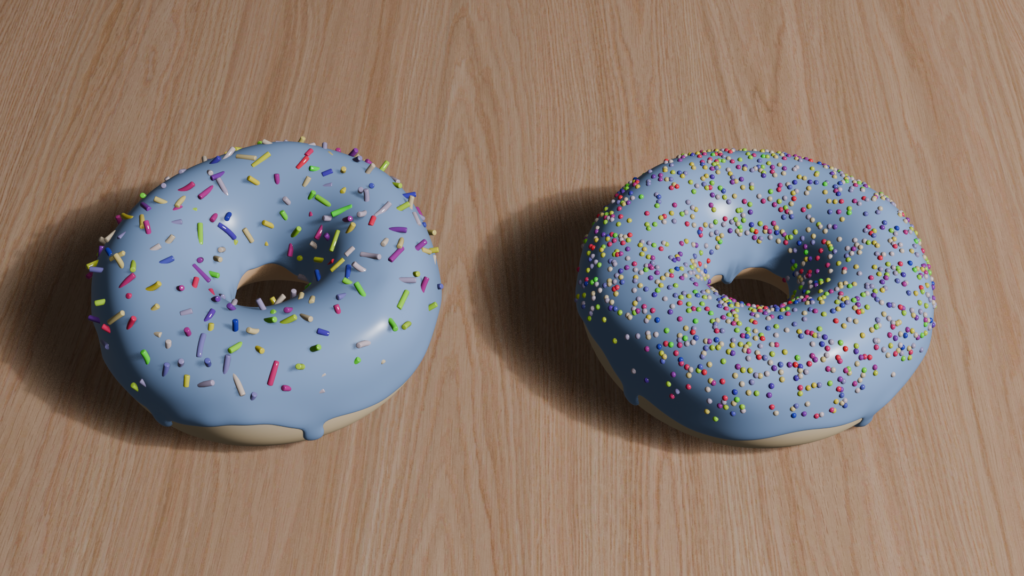
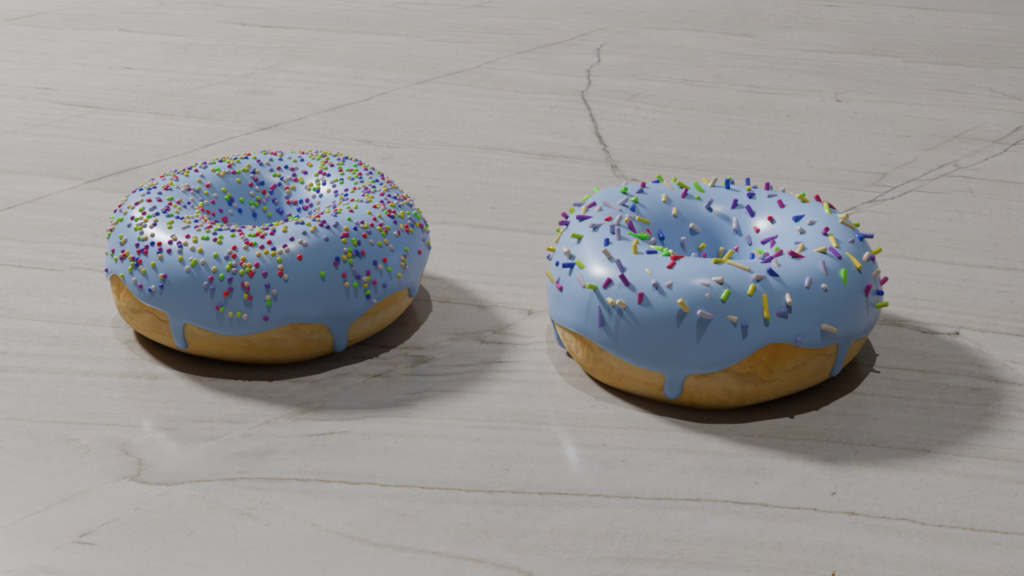
The tutorial starts with something deceptively simple: insert a torus, shape it into a donut, build the icing, add sprinkles, apply materials, and set up lighting—the basics.
What isn’t obvious at first is how long it can take for those basics to actually come together.
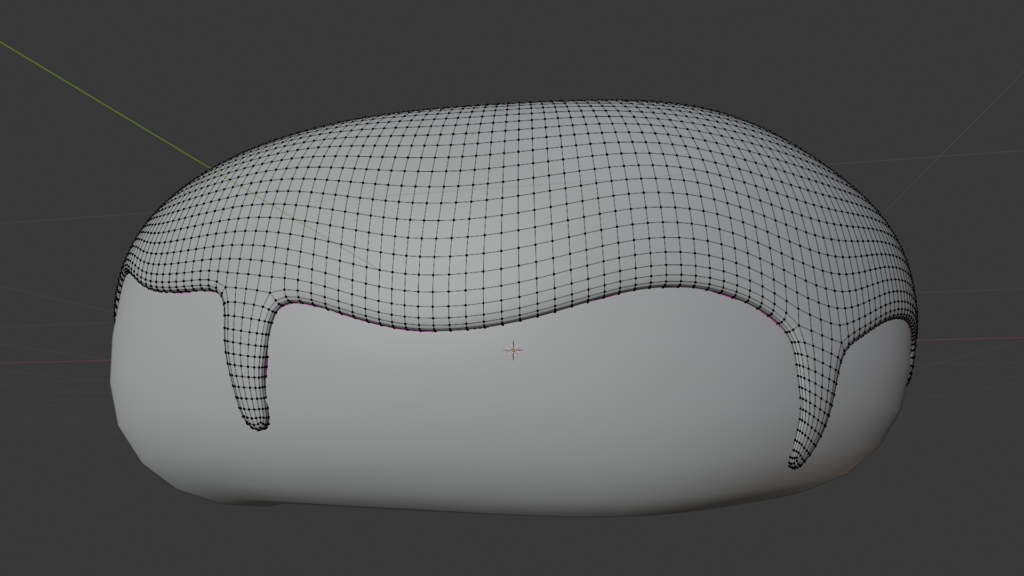
For me, it took nearly two weeks just to get a donut that worked. Not perfect—just correct. The icing alone forced a complete reset. I ran into topology problems, thickness issues, strange deformations, and shading artifacts that refused to cooperate. Every attempted fix seemed to introduce a new problem somewhere else.
Eventually, I did the frustrating but necessary thing.
I scrapped the donut and rebuilt it from scratch.
That decision slowed me down in the moment, but it taught me something critical. In Blender, trying to power through a broken setup often costs more time than restarting clean with a better understanding of the fundamentals. That first two-week stretch wasn’t about making something impressive—it was about learning how not to break things in the first place.
From Donut to Trophy (Three Hours)
After days of working inside Blender—navigating the viewport, switching modes instinctively, understanding modifiers, and recognizing when geometry was about to cause problems—something shifted.
I decided to try building something without the tutorial.
That’s when the real holy-crap moment happened.
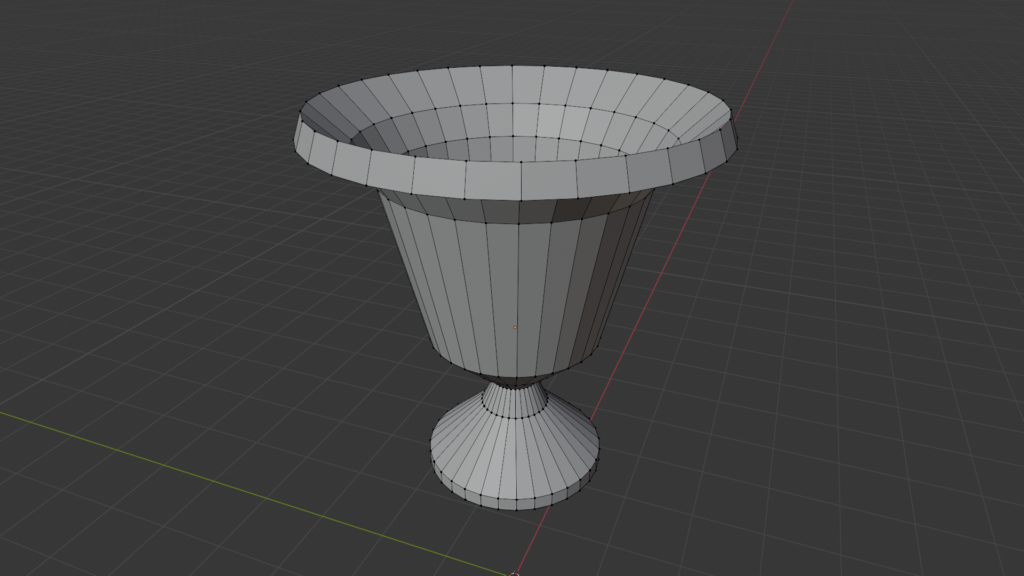
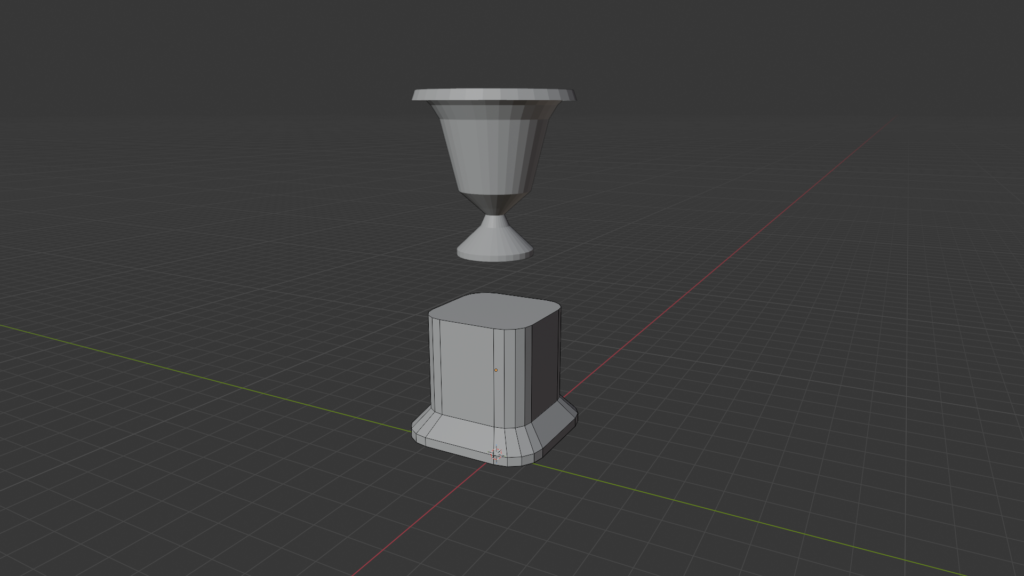
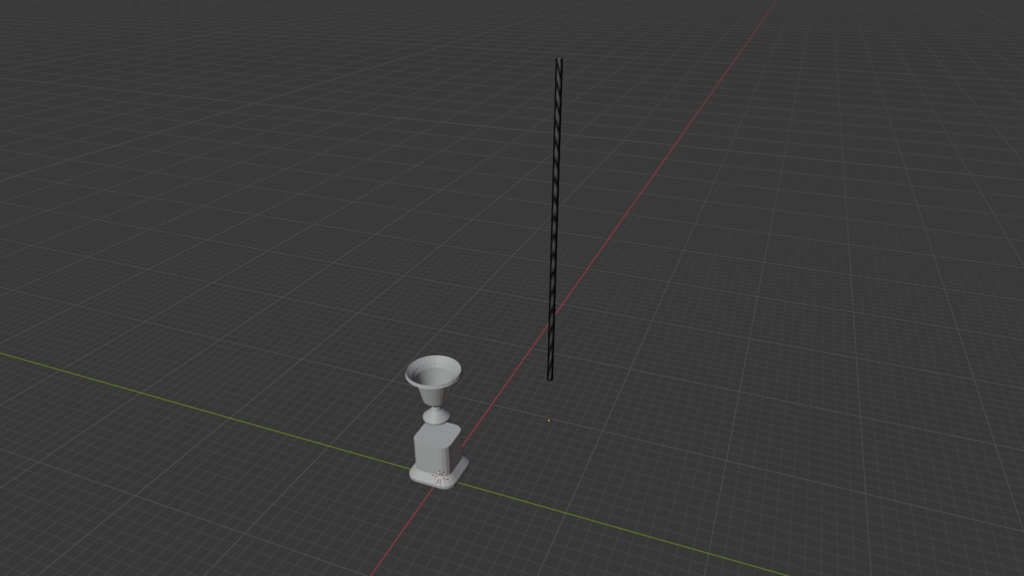
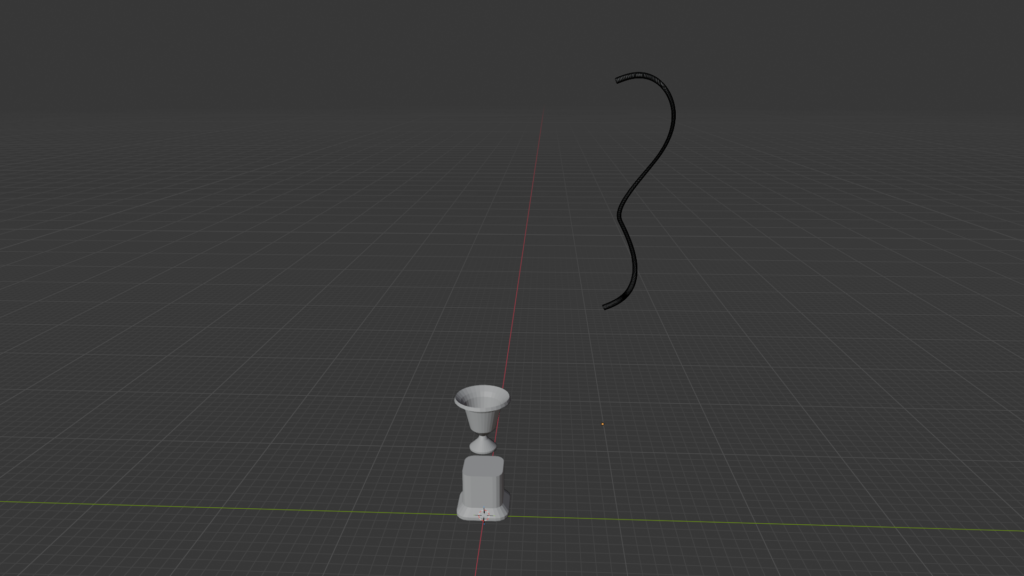
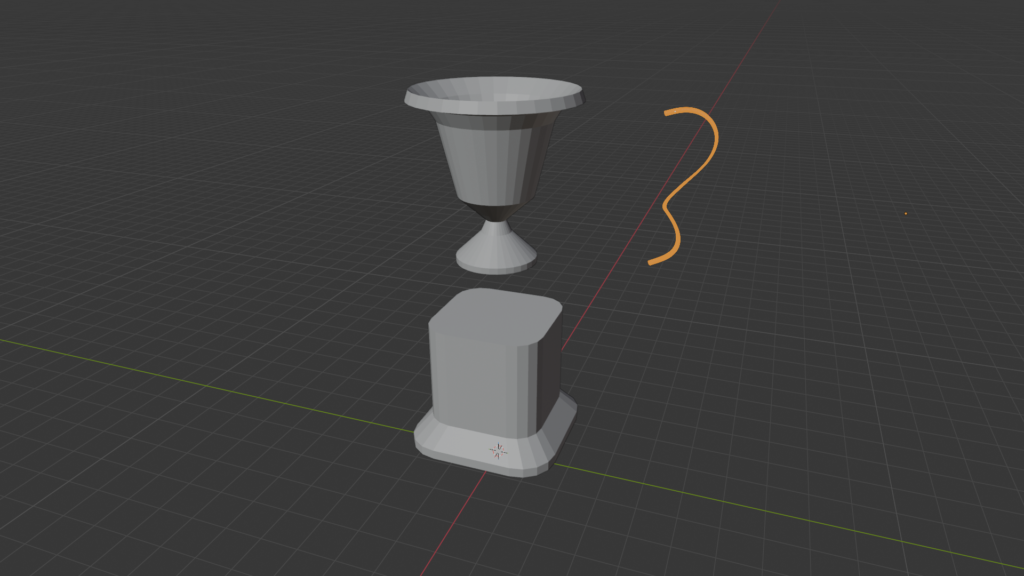
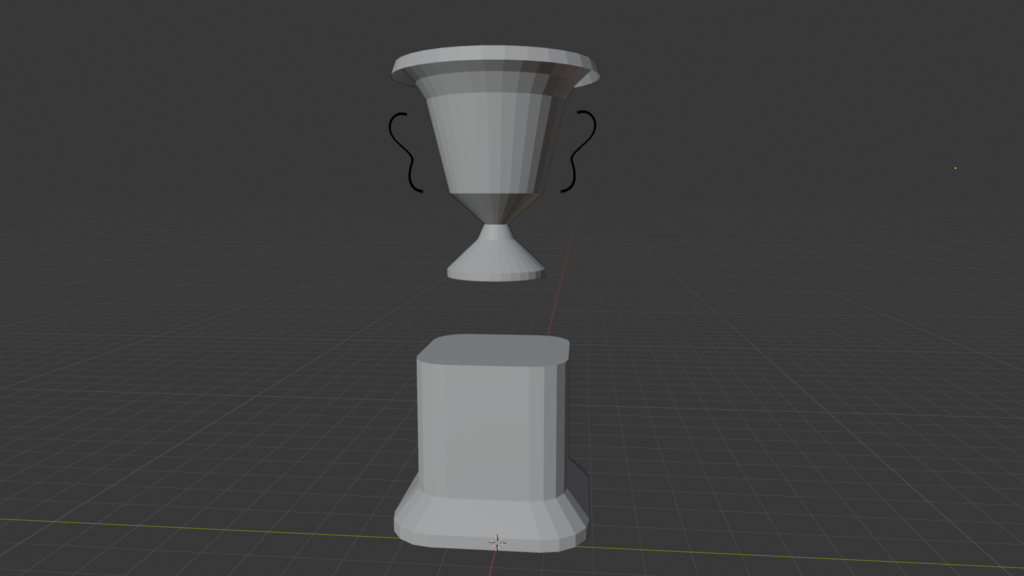
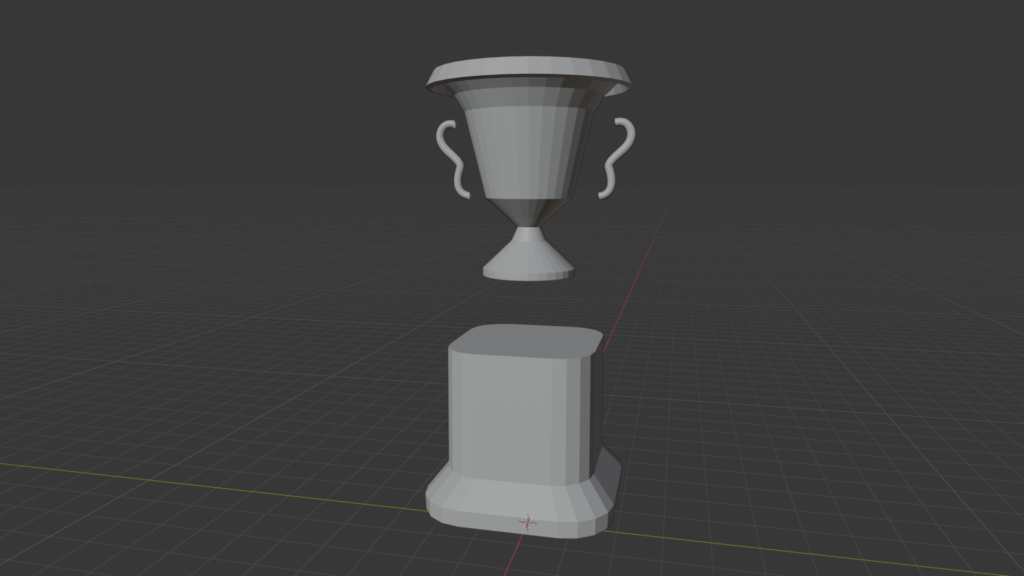
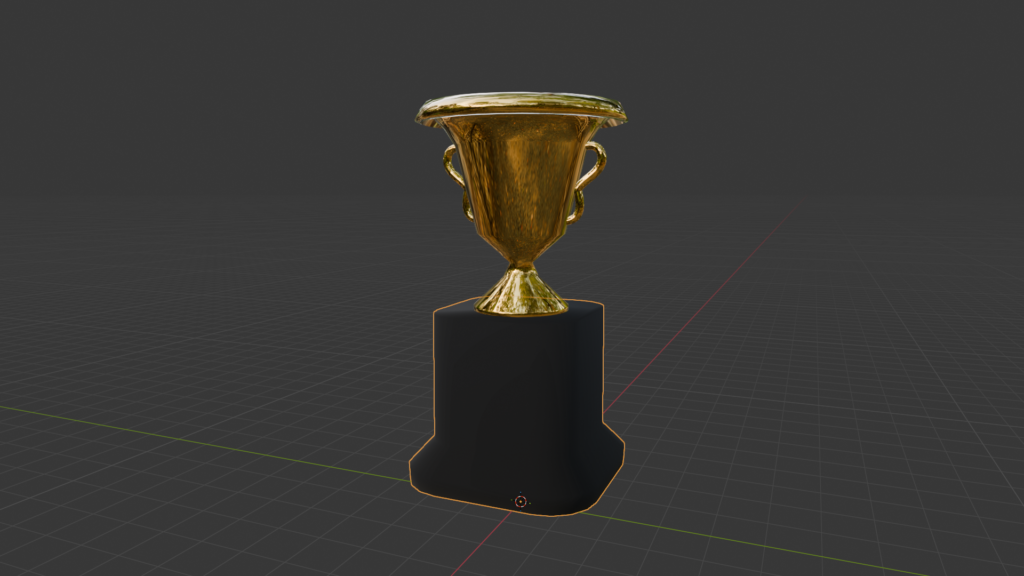
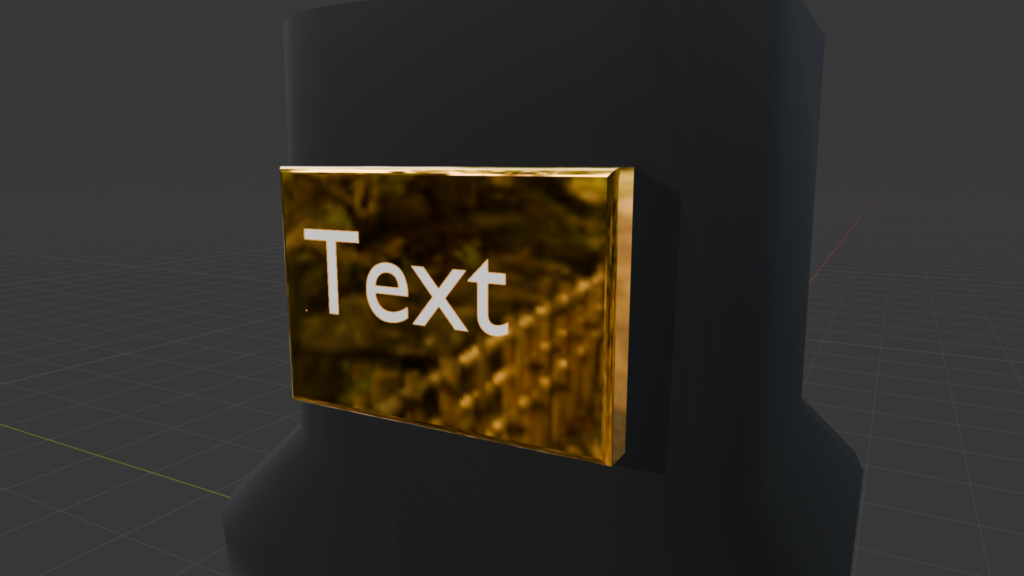
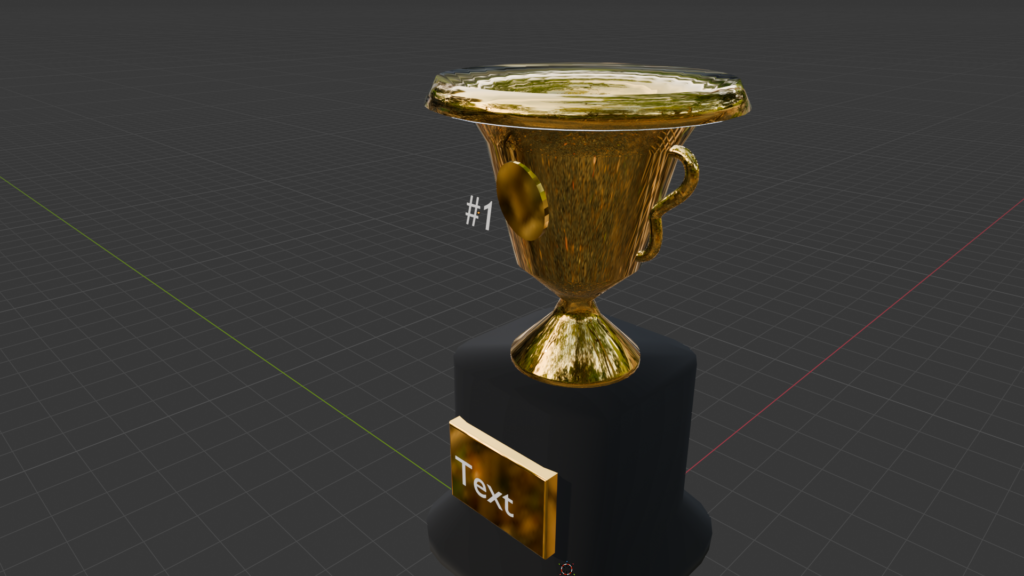
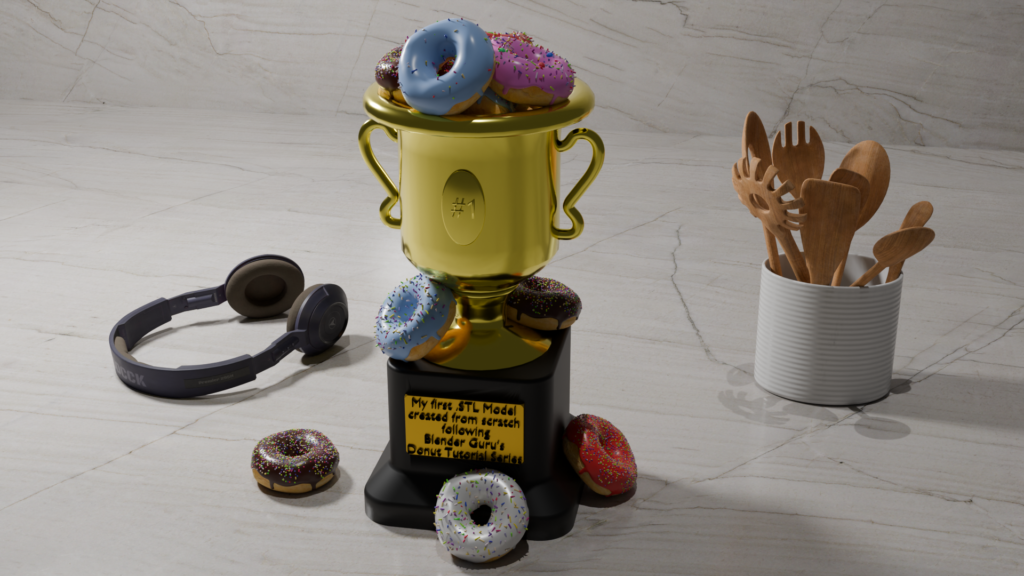
Using what I had absorbed, I designed and completed a fully custom metallic gold trophy from scratch in about three hours.
No walkthrough. No step-by-step instructions. Just decisions.
The contrast was impossible to ignore. Two weeks to make a functional donut, followed by three hours to create something polished and intentional. That was the moment I knew the time investment was paying off—and that I was no longer just following steps, but actually using Blender.
Why a Trophy?
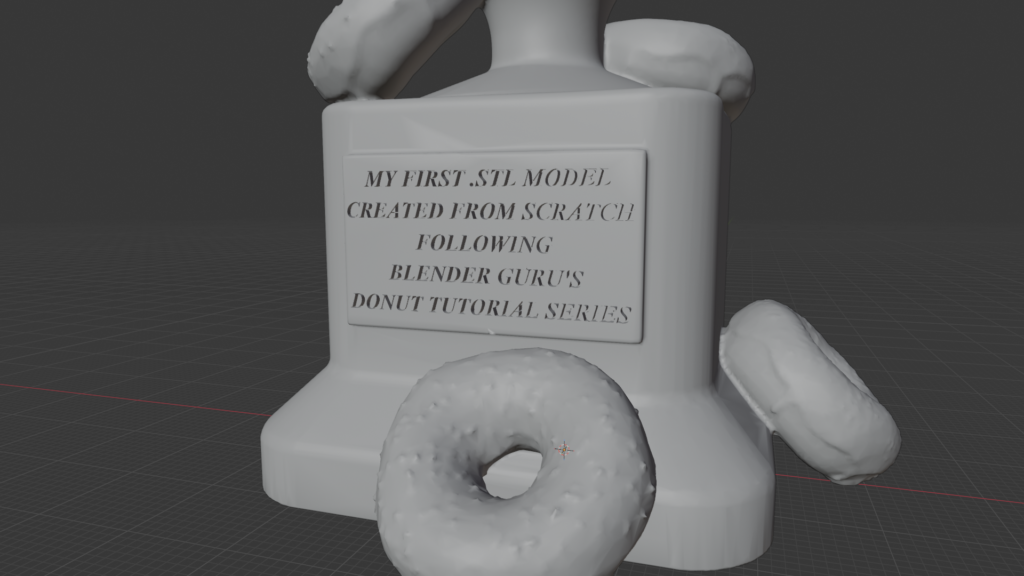
I chose to make a trophy because it represents the first custom model I’ve ever created from scratch.
This one is mine.
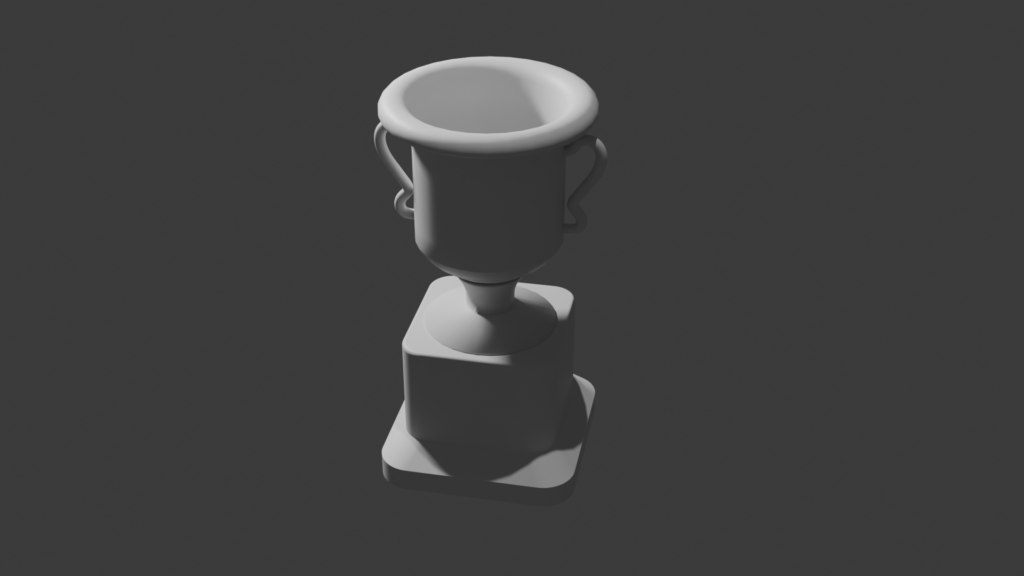
It doesn’t matter whether it’s perfect. That was never the point. What mattered was proving to myself that I’m no longer just downloading files and consuming other people’s work—I’m beginning to create my own.
The trophy became a personal marker. A small, tangible “win” that represents the moment things shifted from confusion to capability. From following steps to making decisions.
My plan is to 3D print it and keep it on my workspace shelf as a physical reminder that I can build something from nothing. Not as a display of mastery—but as a reminder of momentum. A piece of motivation that was earned.
But I’ll save the .STL and 3D-Printing side of the journey for another post.
Please Consider Donating
This may sound like a brief charity message—but it’s one I genuinely believe in.
I wouldn’t be at this point without Blender Guru’s Donut Tutorial. It was the on-ramp that turned curiosity into momentum and confusion into progress.
During the tutorial, he makes a point that really stuck with me: only a small percentage of Blender users actually donate to its development, despite how widely the software is used. The fact that Blender is open-source—and freely available—is a major reason it exists at all in its current form.
Blender is maintained by the Blender Foundation, and its continued growth depends heavily on community support.
So I’ll repeat that message here, in my own words:
If you’re using Blender, learning Blender, or even just considering getting into 3D art, animation, game assets, or product design—consider donating if you can.
Even a small contribution helps keep the lights on for a tool that gives people around the world access to professional-grade creative capabilities, entirely free. For many, that access is genuinely life-changing.
👉 Support Blender here: Blender.org → Donate