A Fire God, Gridfinity, and Beyond

3D Printing Log #2

Same Printer, Better Instructions

This second batch of test prints was done on the same machine as Log #1: the Ultimaker at the Millennium Library.

Same printer. Same constraints. Same approval process.

What changed wasn’t the environment — it was how I worked within it.

After my first library print showed me where FDM starts to break down for minis, this batch was about seeing what the same machine could do when I stopped guessing and started respecting its limits.

This round included three very different prints: a detailed character model, a functional organizer part, and a piece of tabletop terrain.

I wanted variety, but I also wanted clean signals about what was actually working.

Print #1: Ifrit (Final Fantasy X) — Accidental Hero Scale Win

printed Ifrit from FFX, scaled correctly to hero scale — entirely by accident. The STL just happened to land at a size that worked once sliced, and I didn’t touch the scale.

Normally, that kind of luck doesn’t hold. This time, it did.

  • Horns printed clean

  • Claws survived

  • Overhangs behaved

  • Supports came off without tearing details

It was my first real confirmation that the printer can handle complex organic geometry when the slicer settings aren’t actively fighting it.

That said, this worked by accident, not by control — which meant I couldn’t reliably repeat it yet. It was a win, but not a workflow.


Ifrit (イフリート, Ifurīto?), also called Jinn and Iflyte, is a recurring Fire-elemental summon in the Final Fantasy series. His signature attack is Hellfire, sometimes called Inferno or Flames of Hell, that deals Fire-elemental damage to all opponents. He is one of the most frequently appearing summons and is often a rival to the ice summon, Shiva.

Print #2: Gridfinity 4×4 Frame

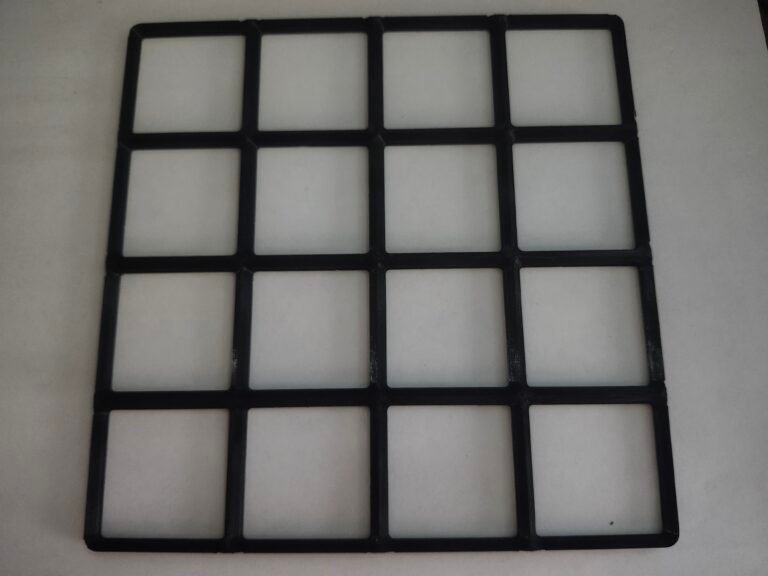
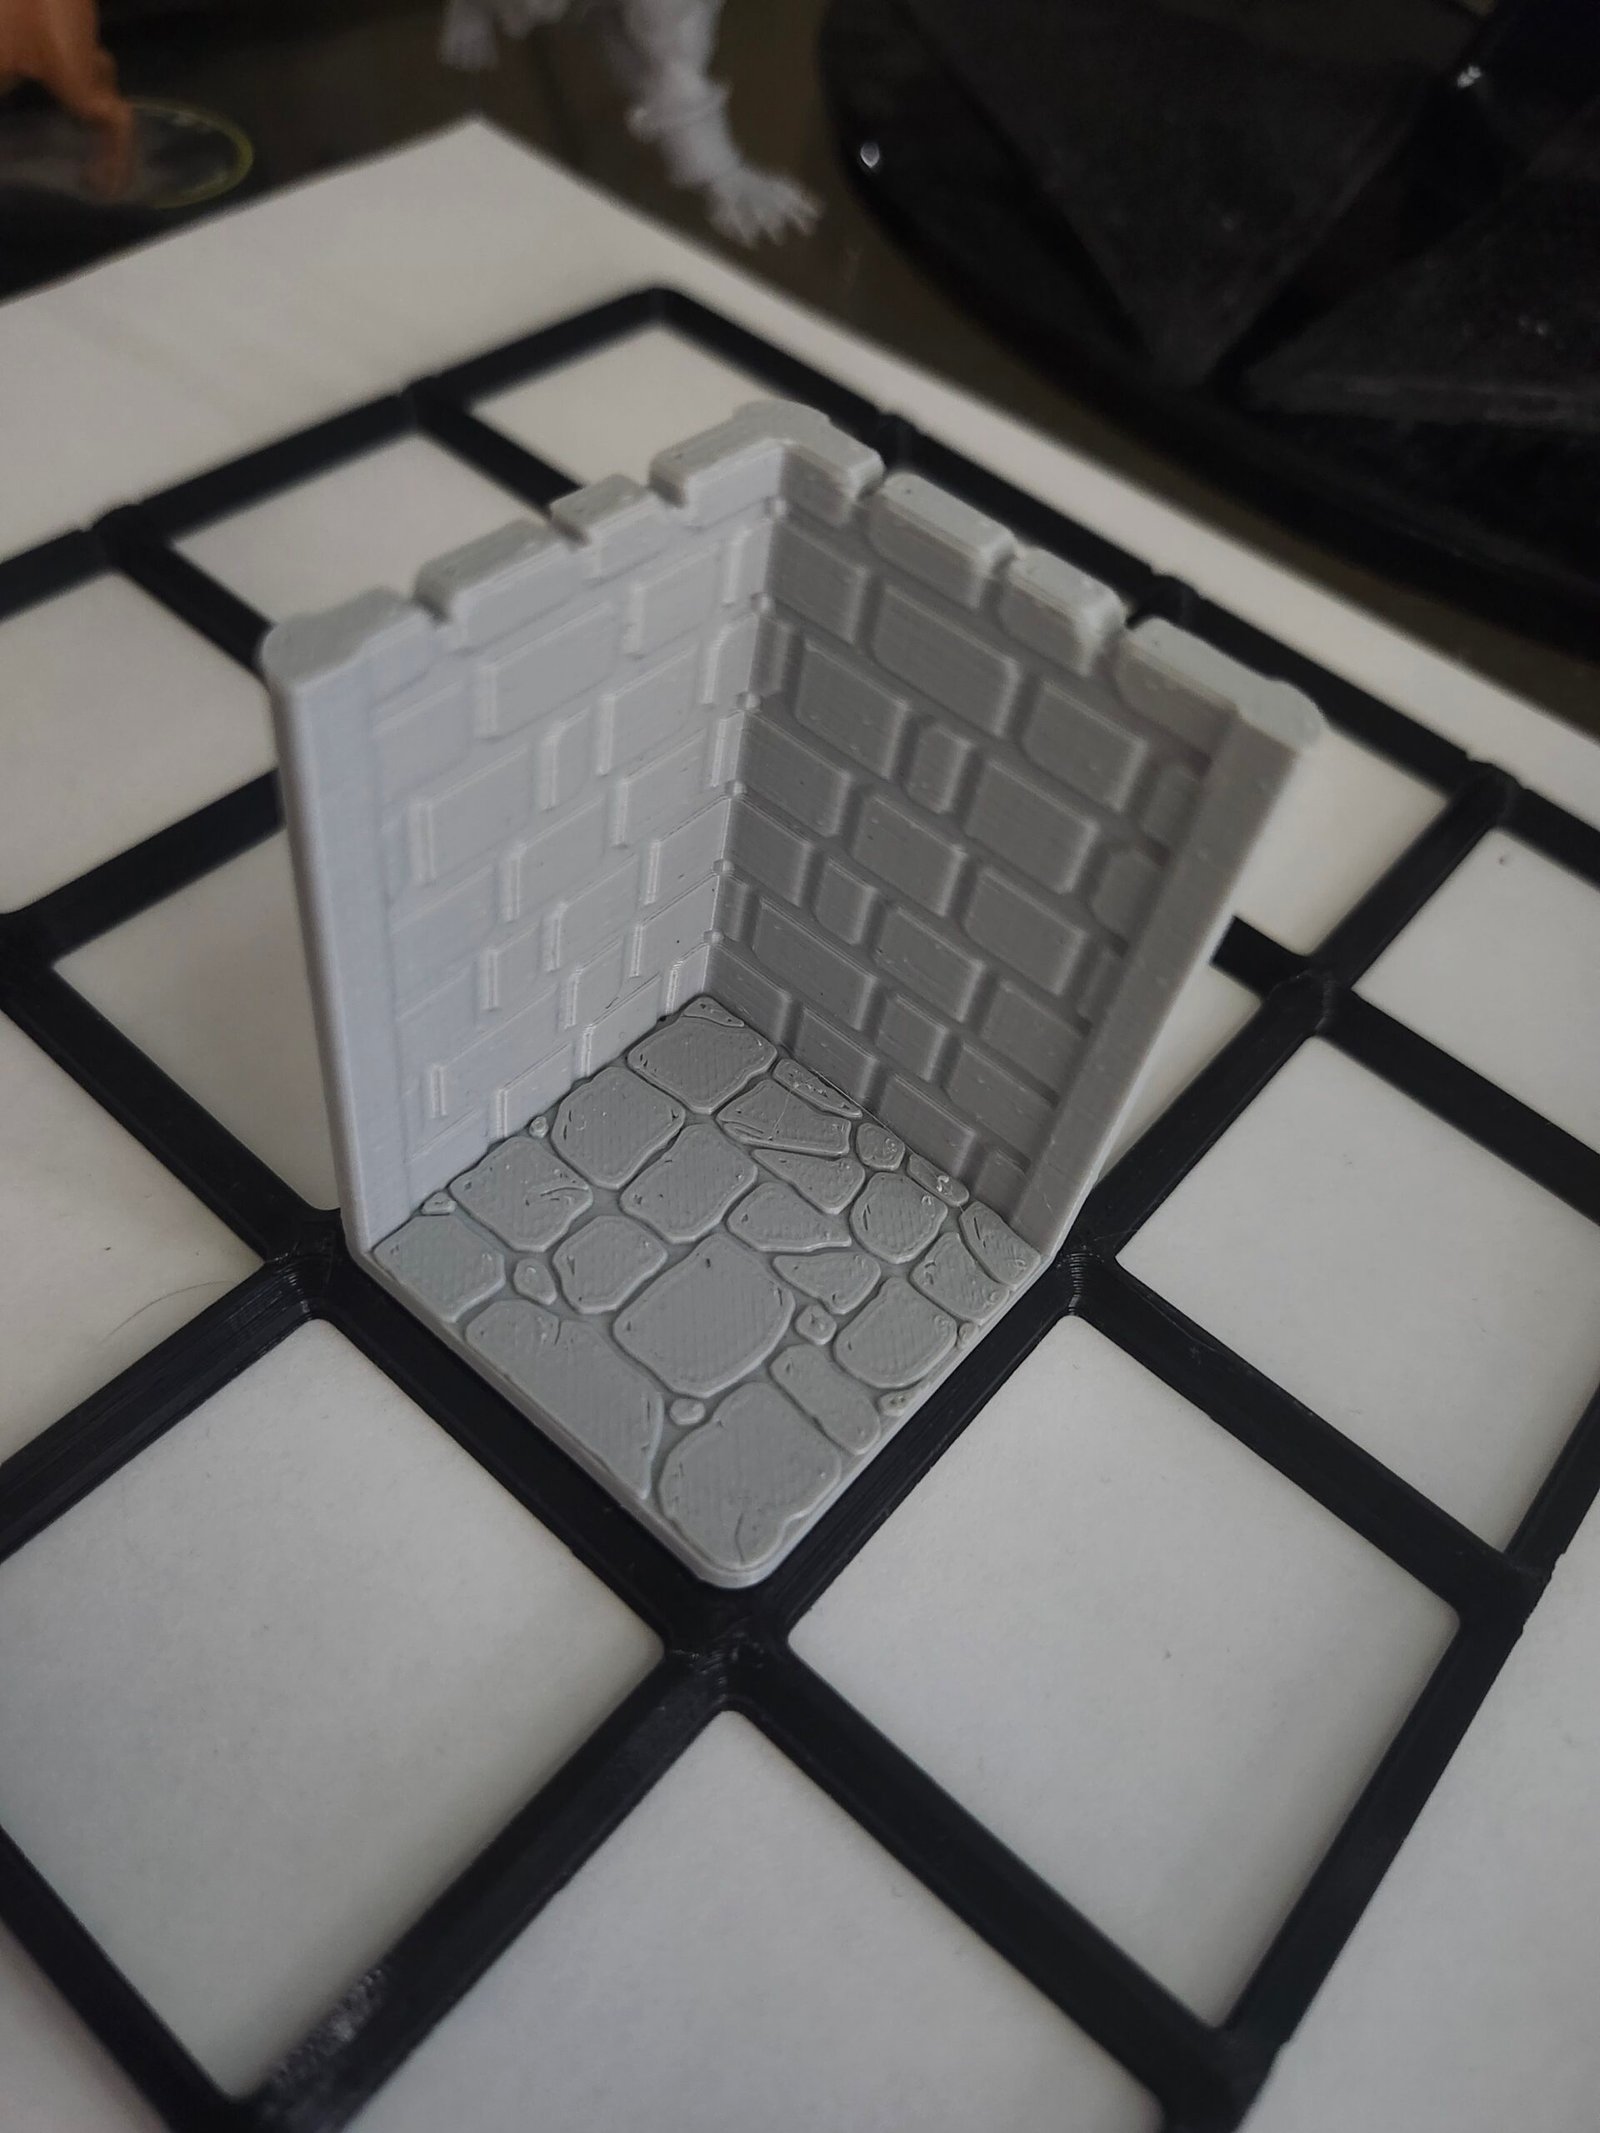
Next up was a Gridfinity 4×4 frame, chosen specifically because it was the largest Gridfinity part that would fit inside the library’s build volume.

This wasn’t a decorative print. It was a stress test:

  • Print time versus size

  • Structural integrity

  • Whether faster infill strategies would hold up

It printed clean, square, and solid enough for real use. That mattered, because Gridfinity parts are exactly the kind of thing I want to batch-print later without babysitting or rejections.

A Quick Sidebar: What Gridfinity Is (and Why I’m Using It)

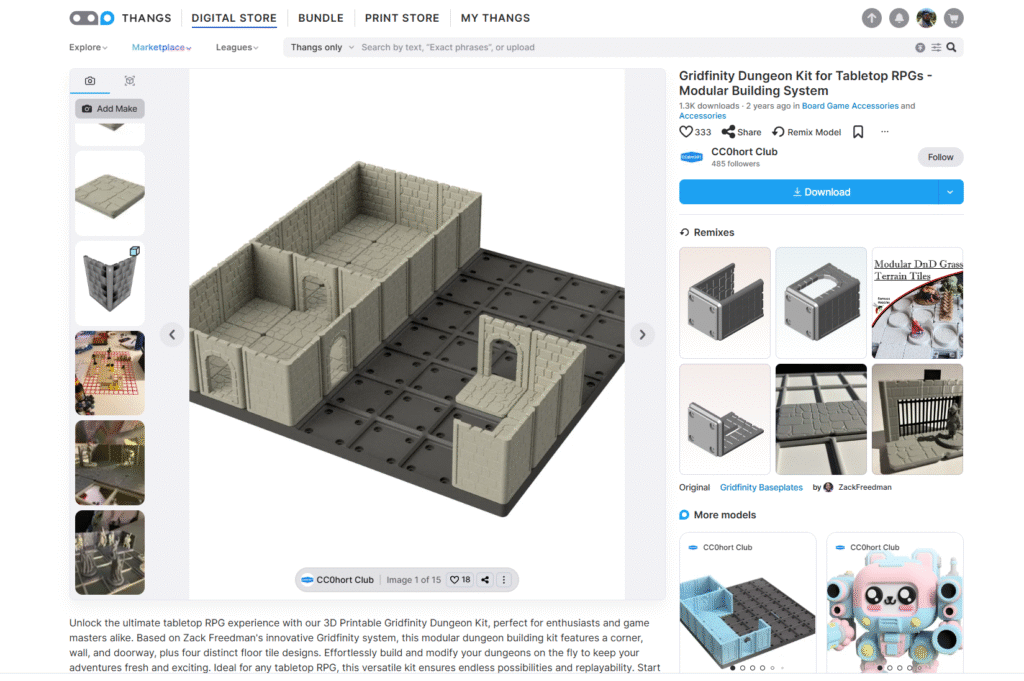
While I was hunting for usable STLs and trying to understand what actually prints well under library constraints, I kept running into Gridfinity. At first I thought it was just another organizer system. It’s not.

Gridfinity is a modular, open-source storage system designed around a simple grid standard. Everything snaps into a shared footprint, which means bins, trays, holders, and tools all play nicely together — even if they’re made by different people.

The core idea is credited to Zack Freedman, who did something important right out of the gate:
he made the system free, documented, and easy for others to build on.


Why Gridfinity Works (Especially for FDM)

From a printing standpoint, Gridfinity has a few huge advantages:

  • Predictable geometry
    Straight walls, flat bases, repeatable dimensions.

  • Scales cleanly
    Small bins, big frames, or full plates — same logic applies.

  • Forgiving tolerances
    Perfect for public printers where you don’t control calibration.

  • Community-driven STLs
    There’s already a massive ecosystem of parts that follow the same rules.

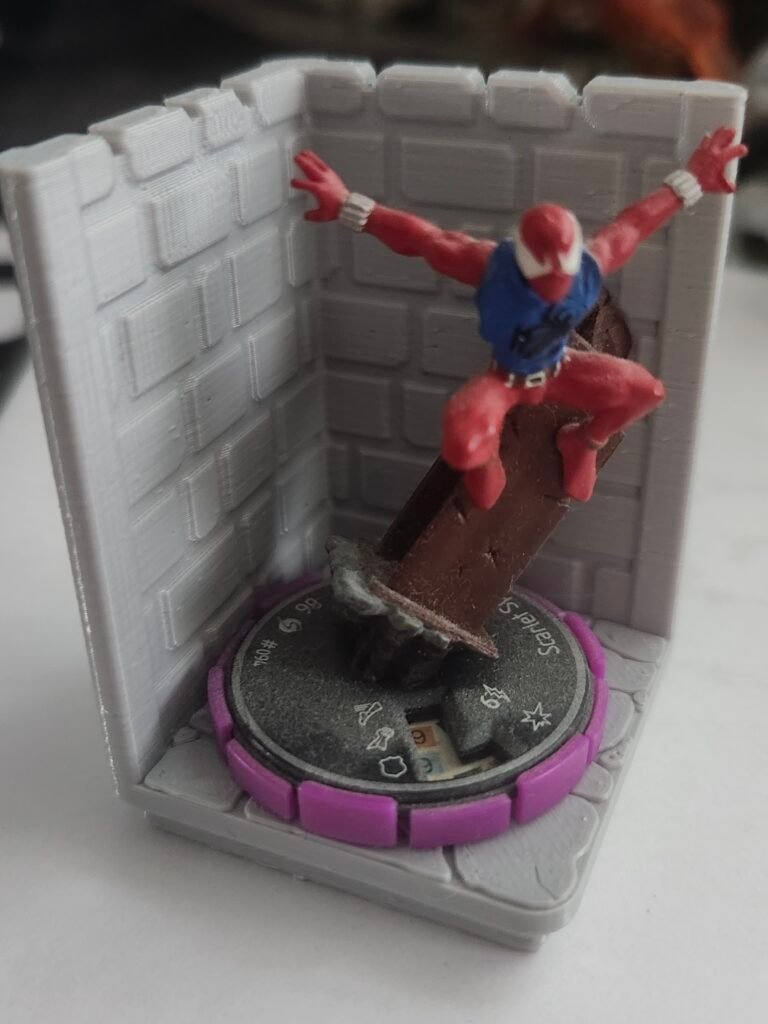
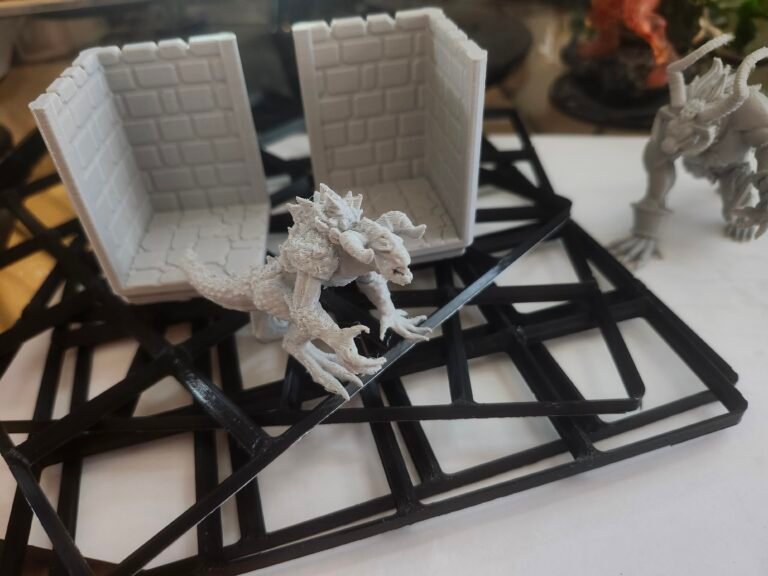
That’s why my 4×4 frame and dungeon wall corner printed so cleanly. They’re not asking the printer to do anything fancy — they’re asking it to do things it’s already good at.

Why I’m Promoting It Here

I didn’t go looking for Gridfinity to organize my desk. I found it while trying to solve a printing problem:
“How do I submit STLs that are reasonable, repeatable, and unlikely to get rejected?”

Gridfinity accidentally answers that question.

It’s one of those rare cases where:

  • The design philosophy respects real-world constraints

  • The system is genuinely open

  • And the creator didn’t lock it behind a paywall

Zack didn’t have to release it the way he did — but he did, and the entire 3D printing community is better for it.

How This Connects Back to the Log

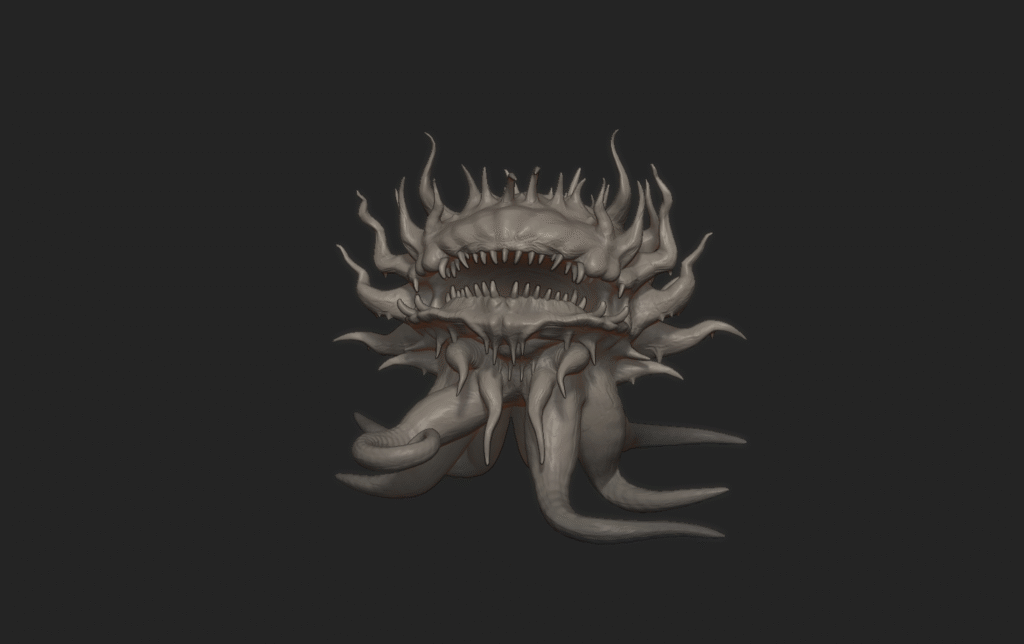
I’m not done with character models or terrain — not even close. But Gridfinity gave me a baseline:

  • Known-good geometry

  • Predictable scaling

  • Lower-risk prints while I’m still learning

That matters when every print request is reviewed by a human and capped at 10 hours.

4x4gridfinityframe
Example of the terrain map I hope to put together for a board game I'm designing
An example of Gridfinity's multitude of other uses:

Print #3: Gridfinity Dungeon Wall Corner (TTRPG Terrain)

The third print was a Gridfinity Compatible Dungeon Wall Corner for tabletop RPG terrain.

This piece sits in the middle ground:

  • Decorative enough that surface quality matters

  • Functional enough to stack and handle

  • Doesn’t demand fine human-scale facial detail

These parts succeeded because they don’t ask the printer to resolve the kind of tiny, high-frequency detail where FDM really struggles. As terrain, they’re forgiving — and that’s a feature.

Ironically though, this piece ended up with a higher level of detail than Ifrit did lol.

Corner Wall sitting snug in the 4x4 Gridfinity frame
Scarlet Spider Heroic Scale
Heroic scale figures fit perfectly inside the grid base

The Print Settings That Actually Mattered

All three prints used suggested slicer settings from Gemini, and for once, the advice lined up with reality. Not because it was “optimal,” but because it respected the constraints I’m under.

These settings worked in this environment — on this printer, under these time limits. That context matters.

Lightning Infill (The Biggest Change)

  • Infill Pattern: Lightning

  • Infill Density: 10–15%

Lightning infill was the single most important change I made.

Instead of filling the entire model like concrete, it creates branching internal supports that only get dense near the top surfaces. The result:

  • Dramatically reduced print times

  • No top-surface sagging

  • Plenty of strength for minis and terrain

Under a hard 10-hour cap, this setting alone can decide whether a print gets approved or denied.


Walls: 2–3 Perimeters

  • Enough shell thickness that:

    • Horns don’t snap

    • Claws don’t shear off

    • Thin edges survive handling

This is cheap insurance. A small time increase in exchange for far fewer fragile failures.


Layer Height: The 0.16mm Compromise

  • 0.12mm looks great, but burns time fast

  • 0.20mm prints quickly, but reads like a prototype

  • 0.16mm hits the balance

At tabletop distance, 0.16mm still reads clean, and the slicer estimates stayed comfortably under the library’s limit.


Tree Supports (Auto)

For organic shapes like Ifrit:

  • Tree supports wrap around geometry instead of boxing it in

  • Easier removal

  • Less surface scarring than block supports

They’re not perfect, but they’re far more forgiving for this kind of work.

Results

All three prints:

  • Were approved

  • Printed successfully

  • Stayed within time limits

  • Came out clean enough for tabletop use

No failures. No rejections. No mystery issues.

That alone made this batch a success.


Where It Fell Apart: STL Scaling and Communication

I also submitted STLs for:

  • A Malboro (Final Fantasy)

  • A Deathclaw (Fallout 4)

Both were denied.

Not because the models were bad — but because my instructions were.

I overexplained. I mixed concepts like “hero scale” with real-world dimensions. I tried to describe intent instead of giving clear, unambiguous numbers. From the library’s perspective, the requested sizes didn’t make sense.

That’s when the real lesson landed:

Public print services don’t want intent — they want dimensions.

If the person running the printer can’t quickly understand:

  • Final size

  • Orientation

  • Reasonableness of the print

…it doesn’t matter how good the STL is.

I handed them a blueprint with no clear dimensions and wondered why it got rejected.

The Malboro (モルボル, Moruboru?), also known as the Molbol, Morbol or Mad Oscar, is a recurring creature in the Final Fantasy series, debuting in Final Fantasy II. It is a large, green, tentacled plant-like creature with an anemone-like head and large mouth lined with sharp teeth. It is renowned for its dreaded Bad Breath, which can inflict many status effects on its targets, crippling unprotected parties, which can frequently be learned as Blue Magic. The Malboro has ranked among the more iconic and difficult enemies in the series, even appearing as a boss on occasion.
Deathclaws in Fallout 4 are terrifying, powerful, genetically engineered reptilian apex predators, known for their devastating claw attacks, pounce, and ability to throw rubble, making them a major threat, especially in areas like the Glowing Sea, with variants like Alpha, Glowing, and Mythic adding more challenge, though some players find standard ones surprisingly manageable with Power Armor and strategy. They are fiercely territorial, attack on sight, and can be trapped or even pacified with high-level perks like Wasteland Whisperer, but are best fought with superior firepower and positioning.

What's Next

That failure pushed me into a new problem space:

  • Properly scaling premade STLs

  • Editing models instead of relying on slicer scaling

  • Translating “tabletop scale” into real-world measurements

  • Submitting files that require less interpretation by staff, not more

I’ve made real progress on that front — but that’s its own log.

That will be 3D Printing Log #3.

Share your love

Newsletter Updates

Enter your email address below and subscribe to our newsletter